Thursday, December 10, 2015

Final days!

In preparation for the final on Friday remember the following. 

1. Finish all of their work 
(this includes surface treatment, waxing, patina etc)

2. Bring everything to the market house before 9:00 so you will have setup time. 
(including their sketch books/possibly models/hammers etc)

3. Bring a board or something to put your work on for display 
(foam core/matte board...something)

4. Have a short blurb on the work if you need it as back up 
(maybe on a index card or typed on a half sheet to put near the board)

5. Two hammers that you dressed
 (forging and raising)

6. The three projects from my class 
(the spoon, the nesting bowls and the pitchers and cup)

7. The work for Johan's class

8. Dress your stakes

9. Clean the studio!!!!!  This is required.  

Tuesday, December 1, 2015

spout

I finally soldered on the spout to our little demo teapot. I had to tack it on and then close the gap with the snarling iron which worked VERY well. I then flooded the seam with solder and used the polishing/grinding wheels to grind it back. It took a couple rounds of soldering, smithing, pickling, cleaning, soldering, smithing pickling but it worked! I will show it to you all in class on Thursday. See you soon.  


Tuesday, November 24, 2015

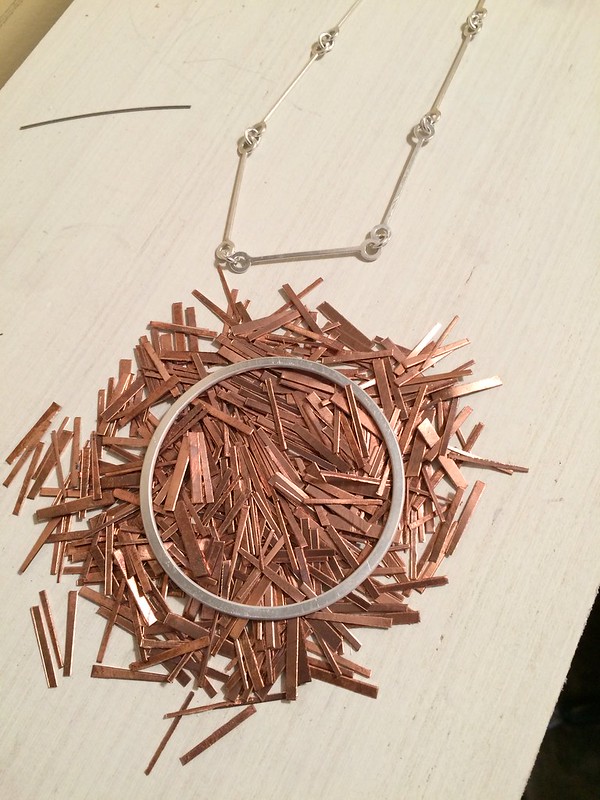
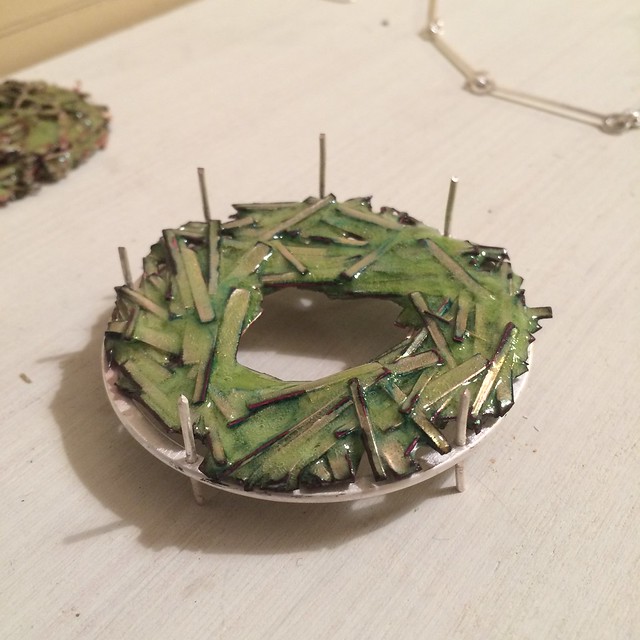
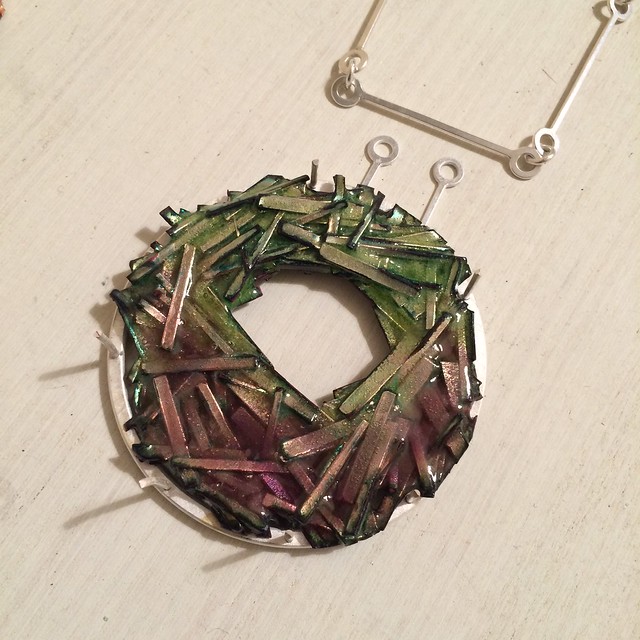
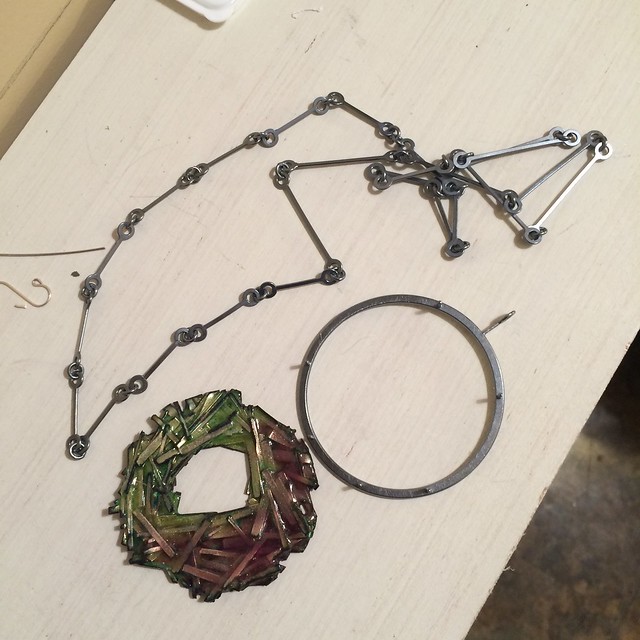
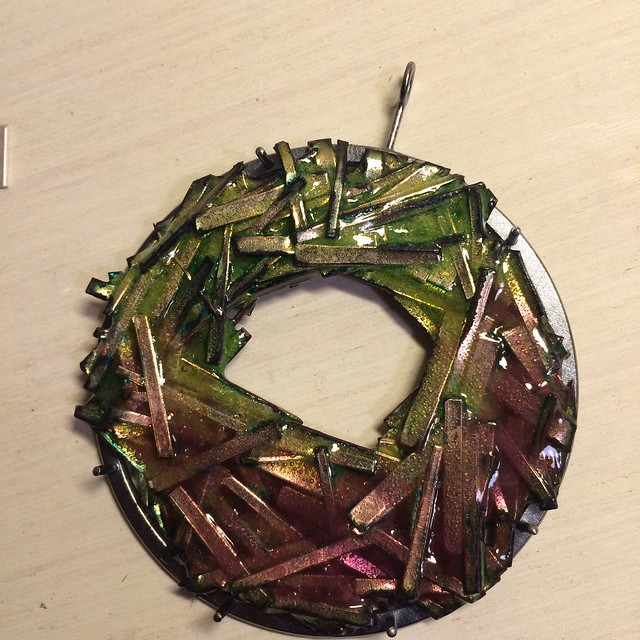
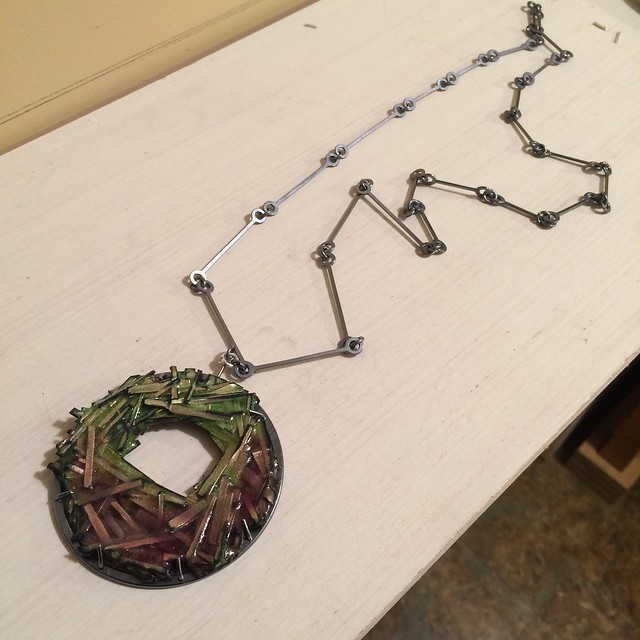
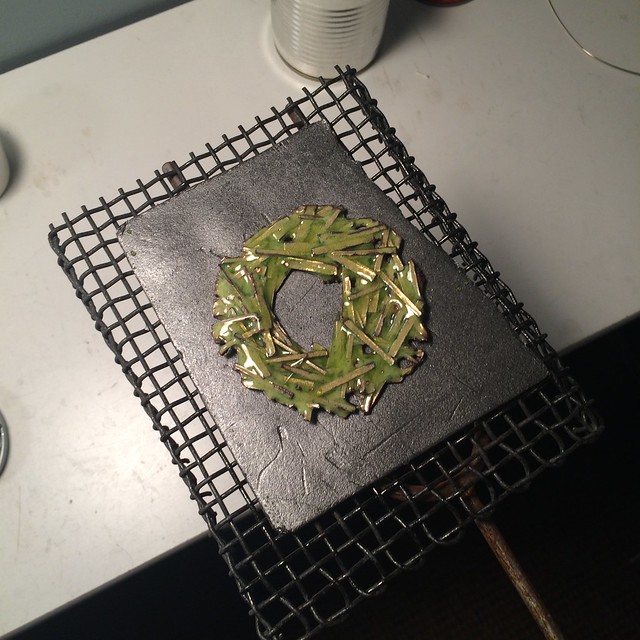
I thought that you might want to see this. I made a neckpiece from the chain that I posted previously. Once I had my enameled portion finished I started fabricating the setting. We are not doing enameling but the chain might be something you will use for Johan and in the future. Check out the big ring on the back.  I made this the same way that I made the ring in class with the stationary planishing hammer. 

image

image


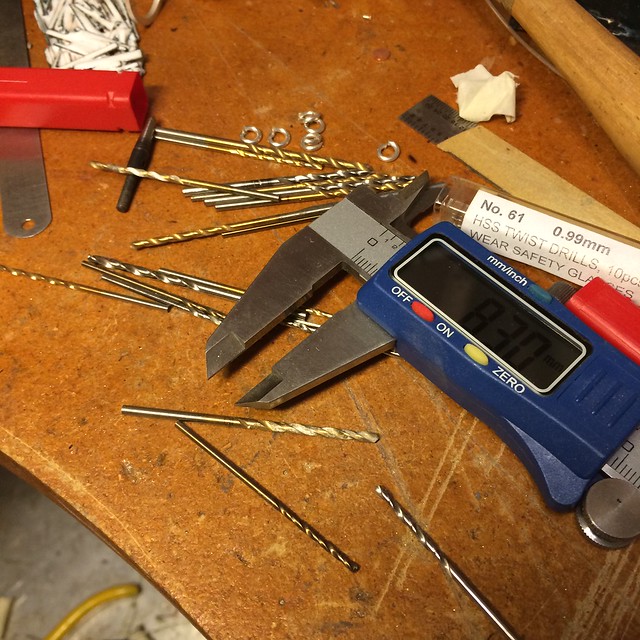
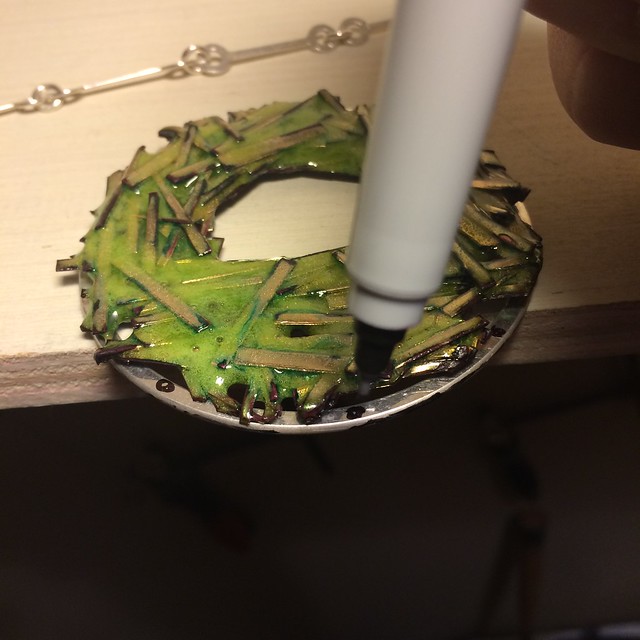
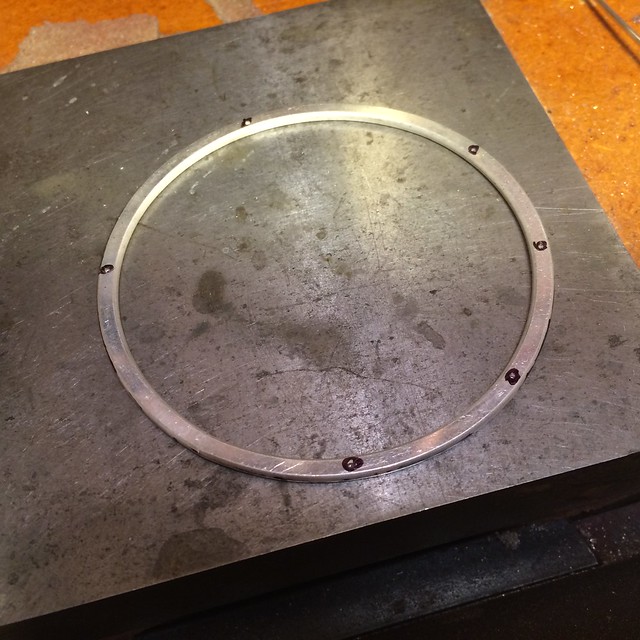
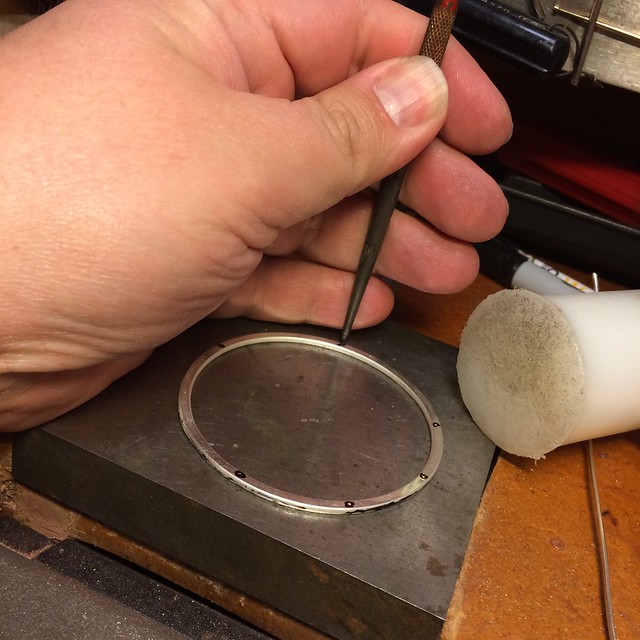
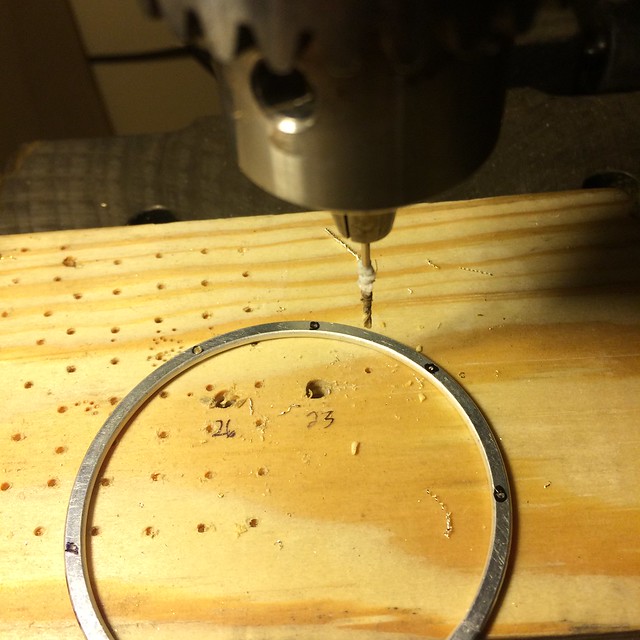
I marked where prongs will go with my sharpie, Center punched the marks, found a drill bit to match my wire and drilled holes through my frame.

image

image

image

image

image

image


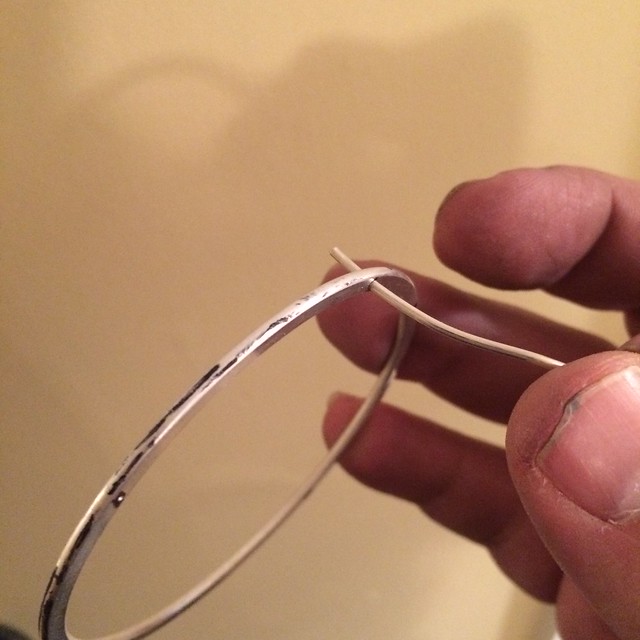
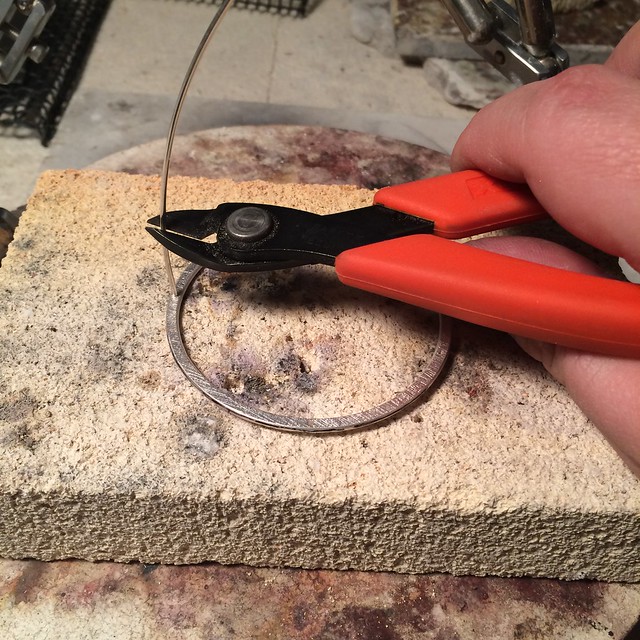
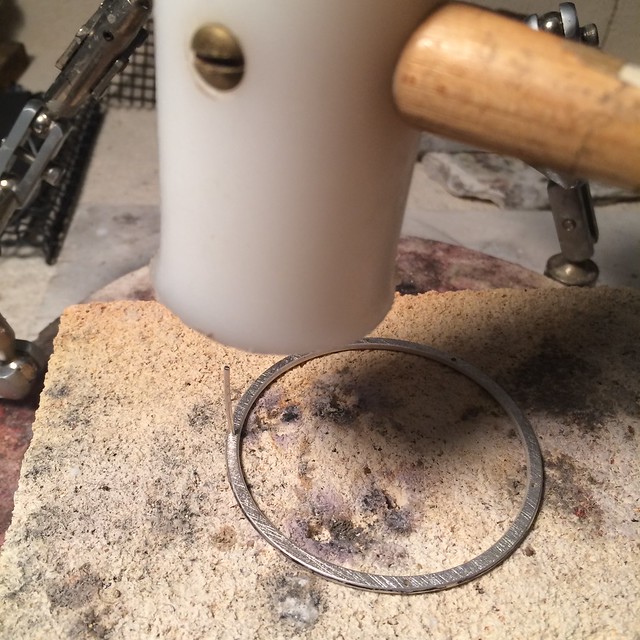
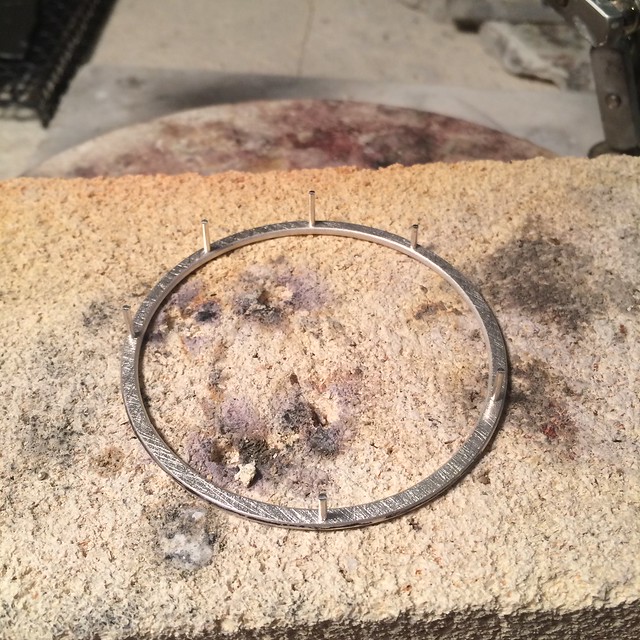
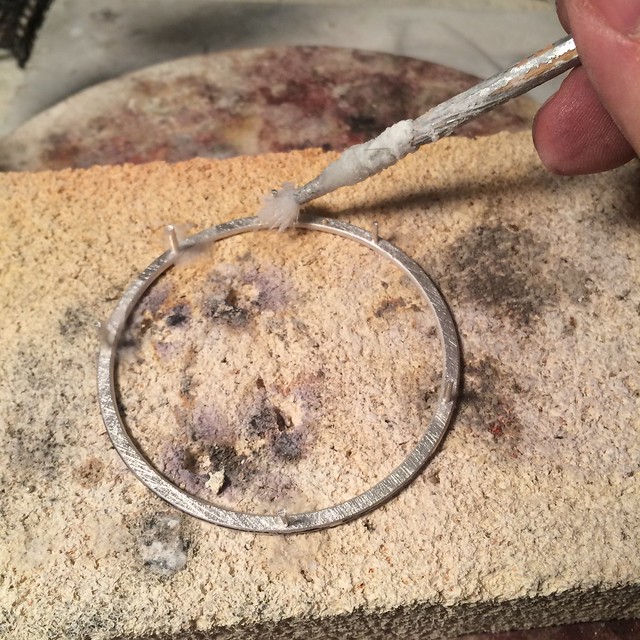
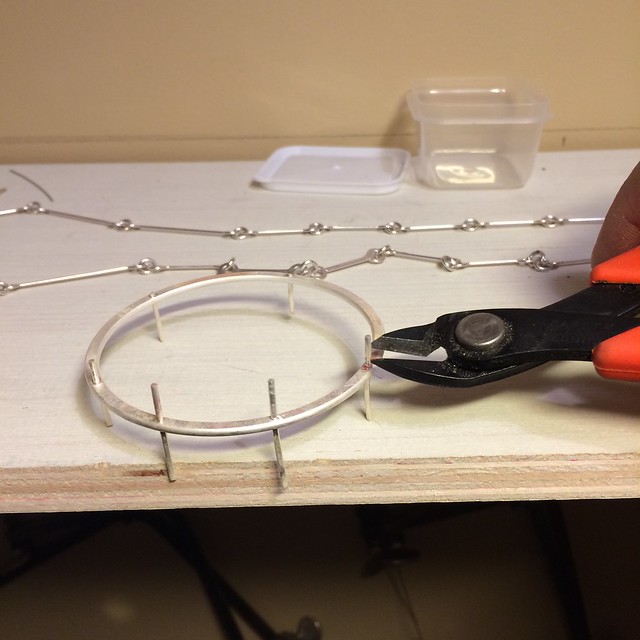
Once I had my holes drilled I pushed my wire into the brick. I nipped more than I needed and then hammered them into the brick so they were all sticking out a bit.

image

image

image 

image

image


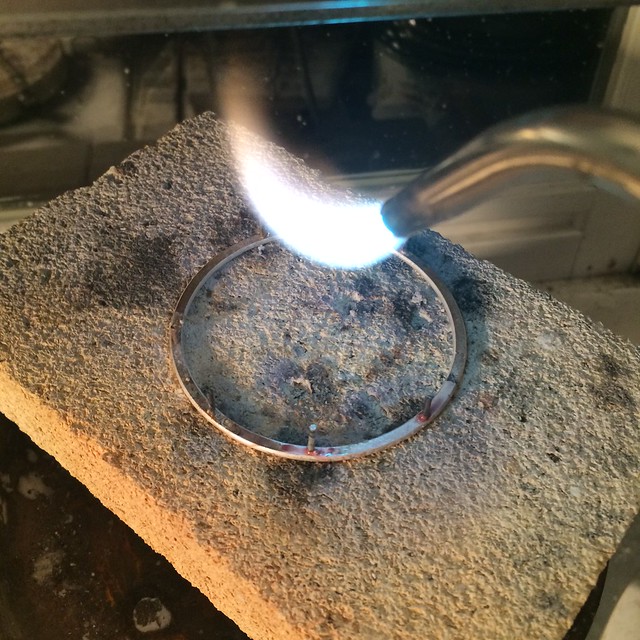
After the prongs were soldered, I gently pried off the frame from the brick, pickled it and then test fit the piece.  I then flush cut the back prongs and sanded the back flat.

image

image

Once the back was sanded I figured out my bail and soldered it to the frame.

image

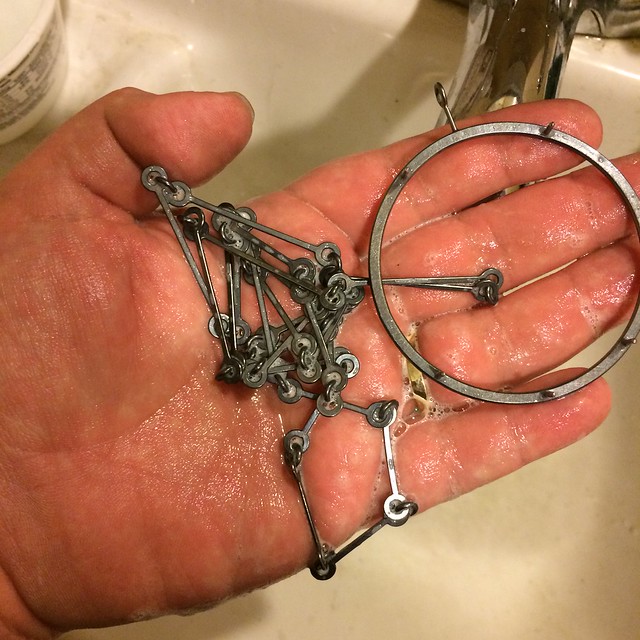
Once the bail was soldered on I patinated it with liver of sulphur and the brass brushed it.  Then I set the piece and connected the chain to the bail with a split jumpring. 

image

image 

image 

image