Tuesday, November 24, 2015

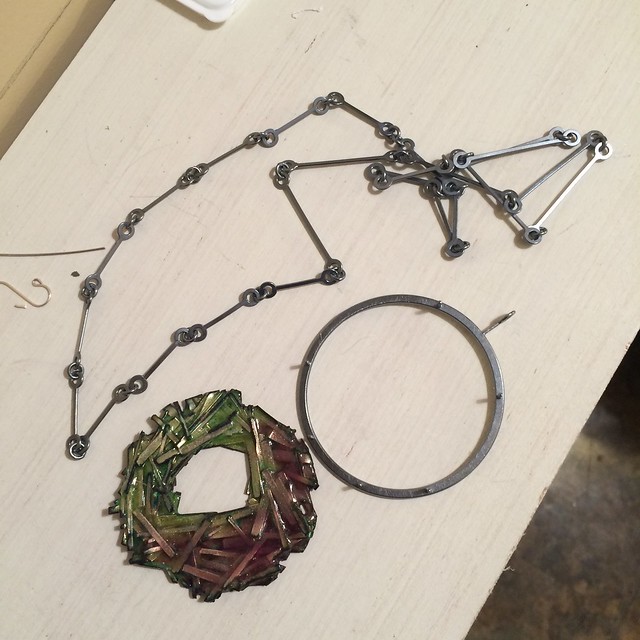
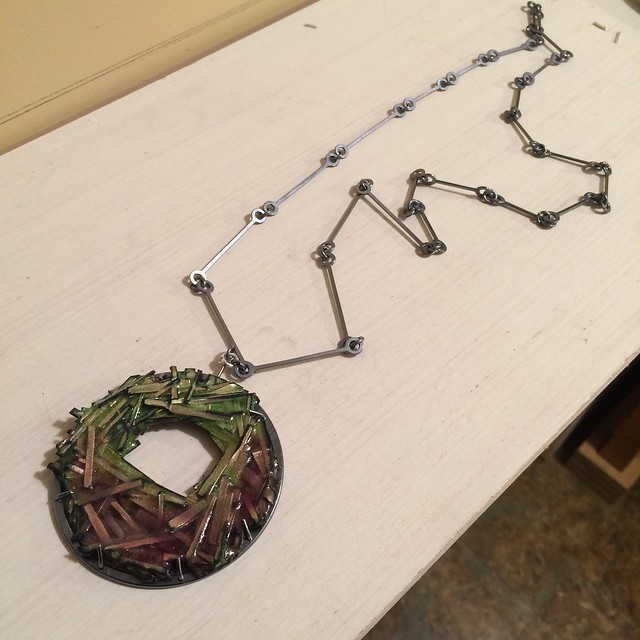
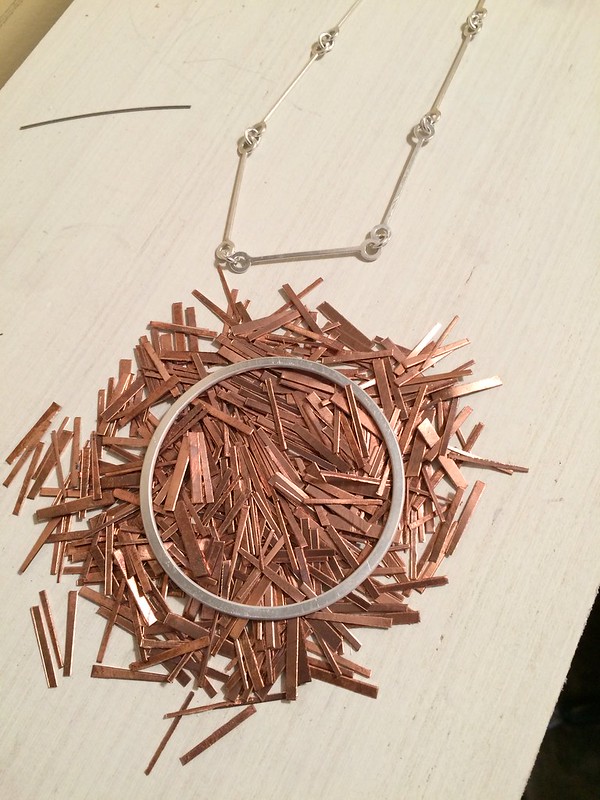
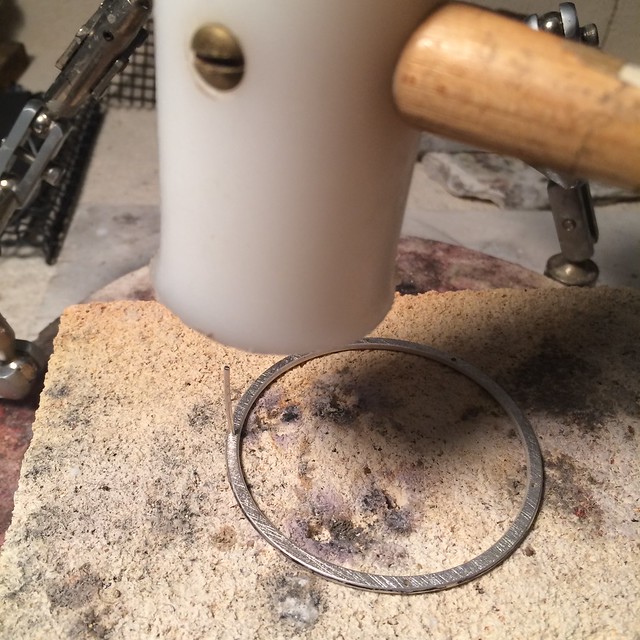
I thought that you might want to see this. I made a neckpiece from the chain that I posted previously. Once I had my enameled portion finished I started fabricating the setting. We are not doing enameling but the chain might be something you will use for Johan and in the future. Check out the big ring on the back.  I made this the same way that I made the ring in class with the stationary planishing hammer. 

image

image


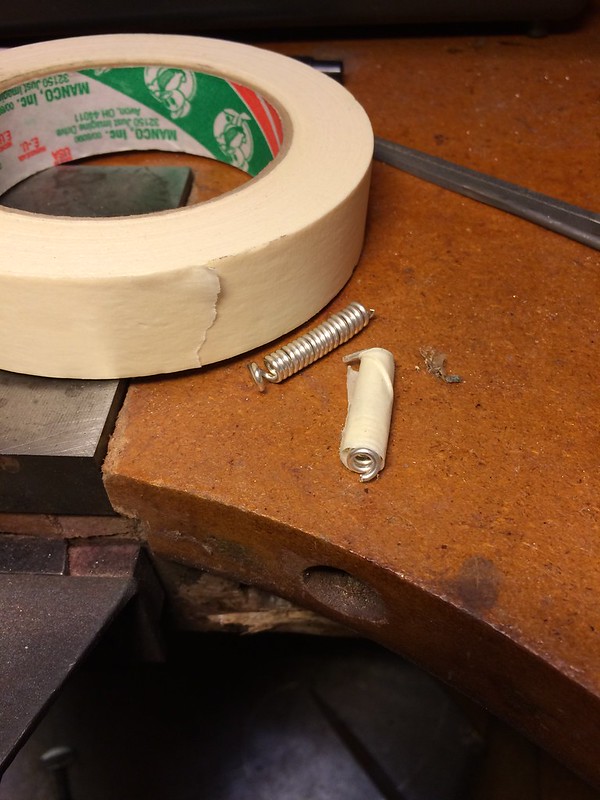
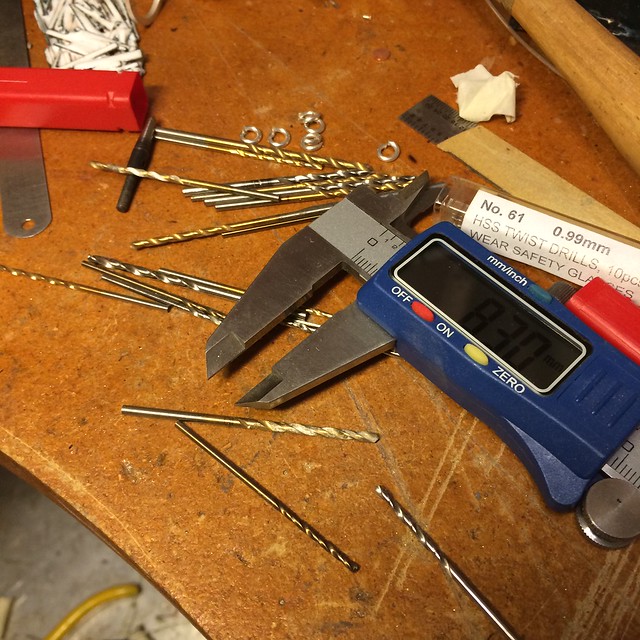
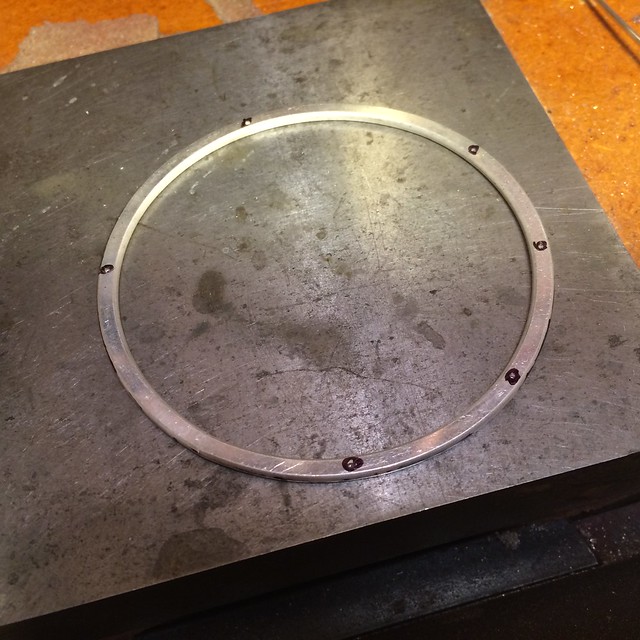
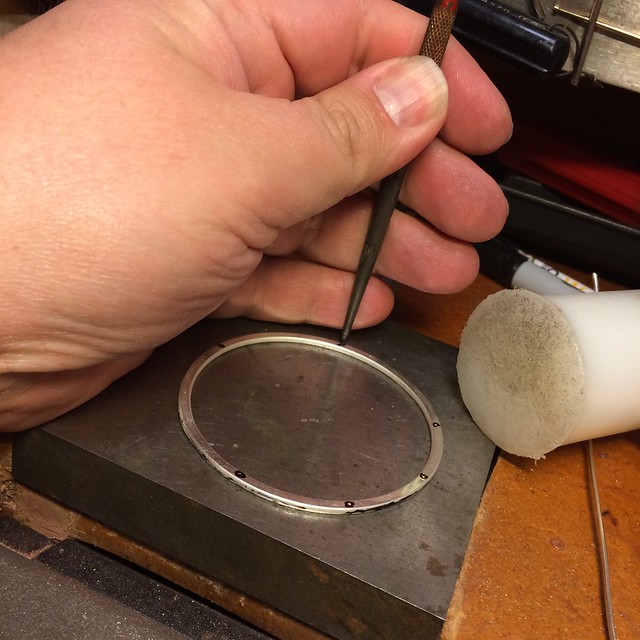
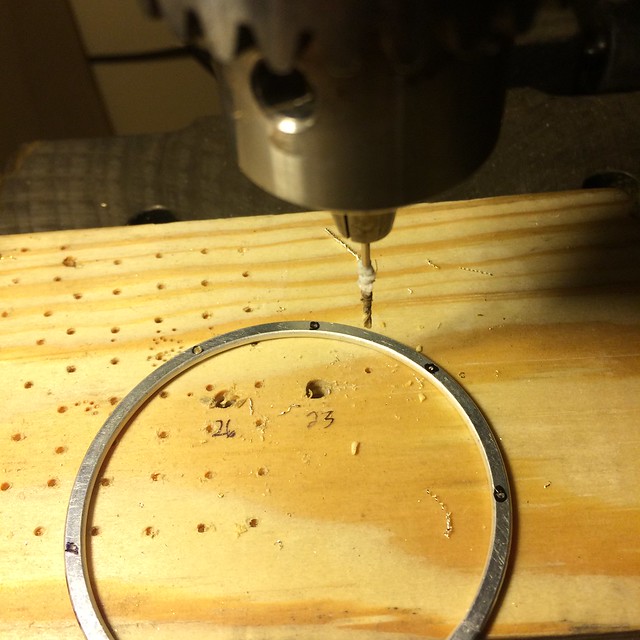
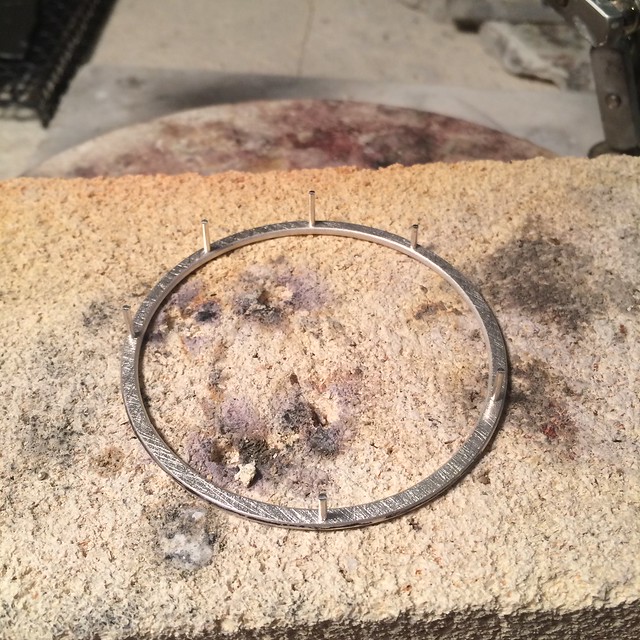
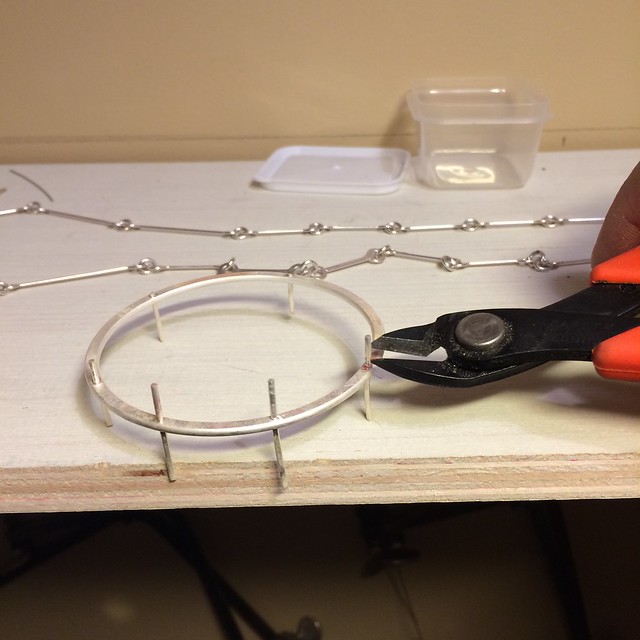
I marked where prongs will go with my sharpie, Center punched the marks, found a drill bit to match my wire and drilled holes through my frame.

image

image

image

image

image

image


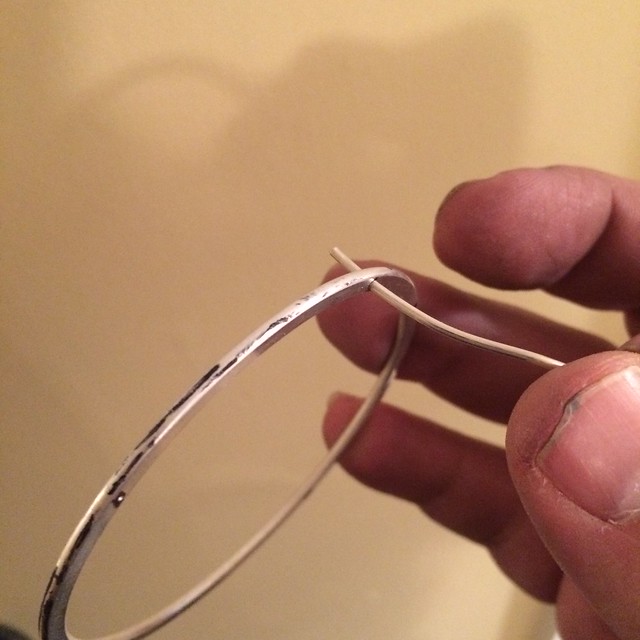
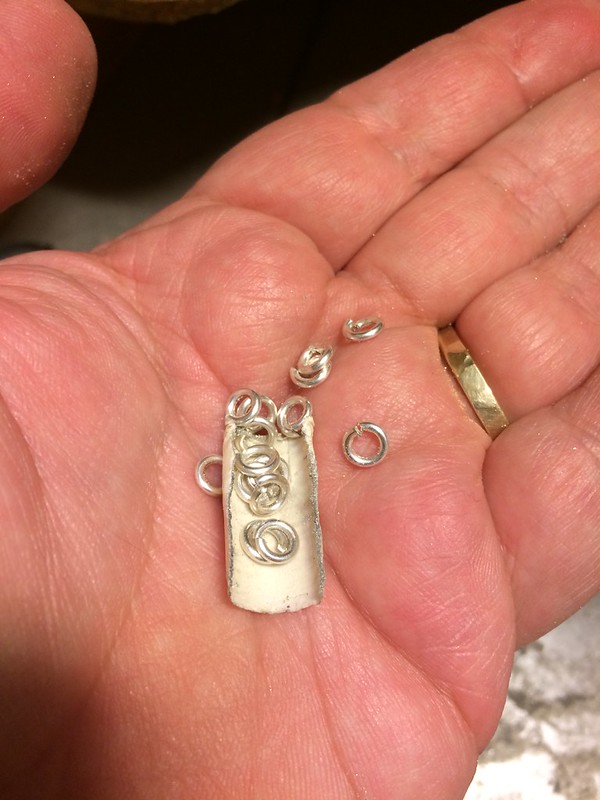
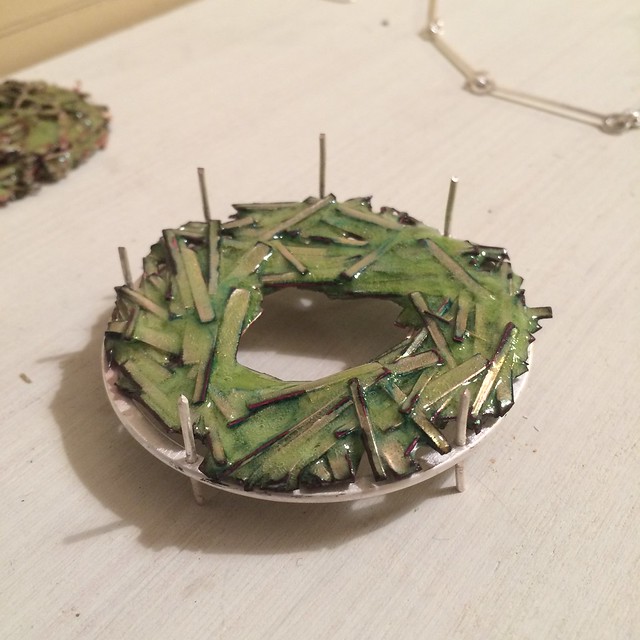
Once I had my holes drilled I pushed my wire into the brick. I nipped more than I needed and then hammered them into the brick so they were all sticking out a bit.

image

image

image 

image

image


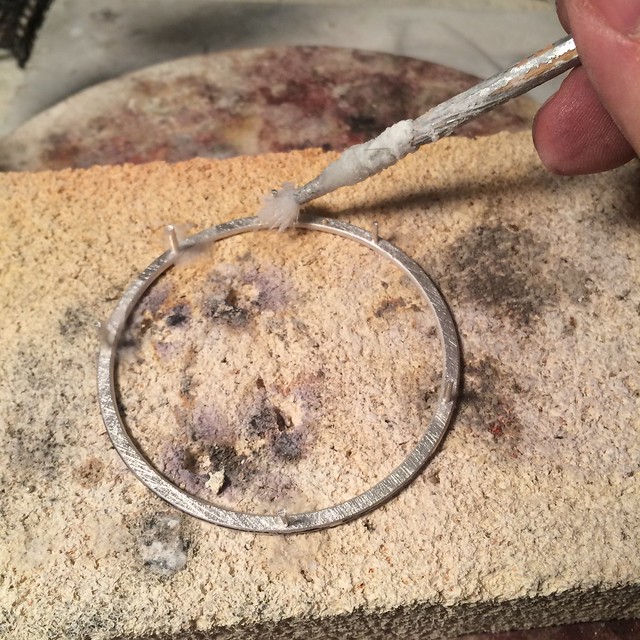
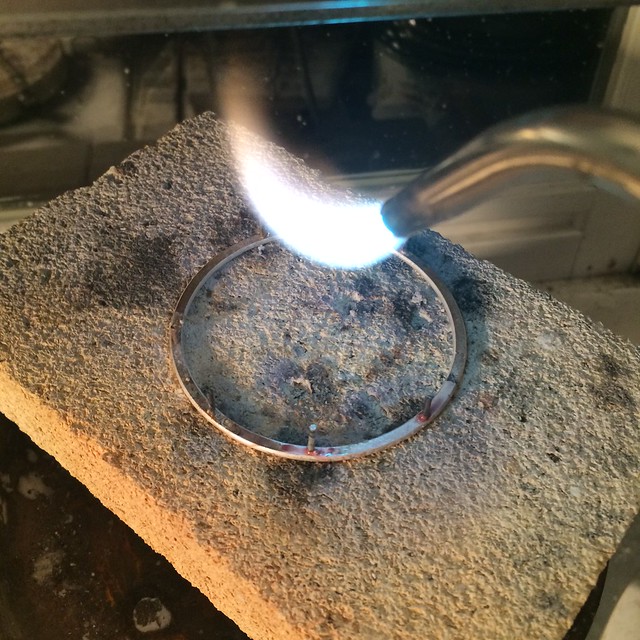
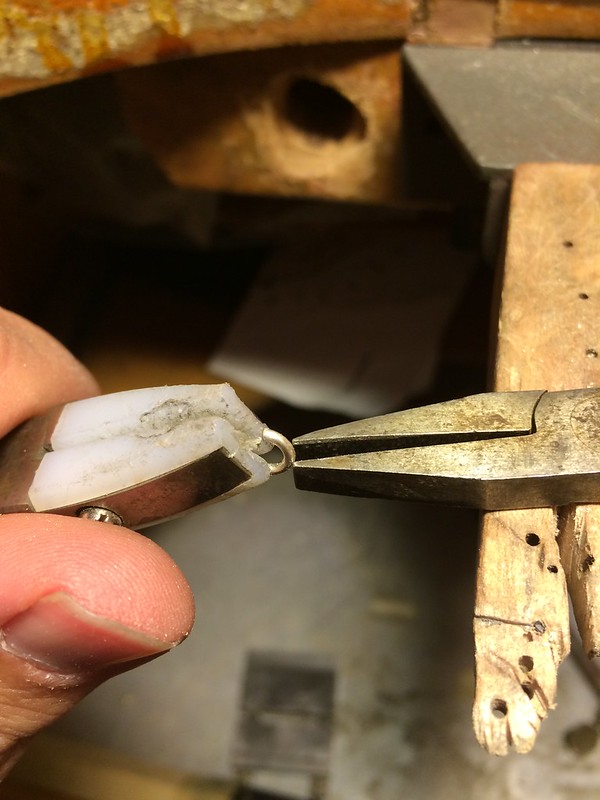
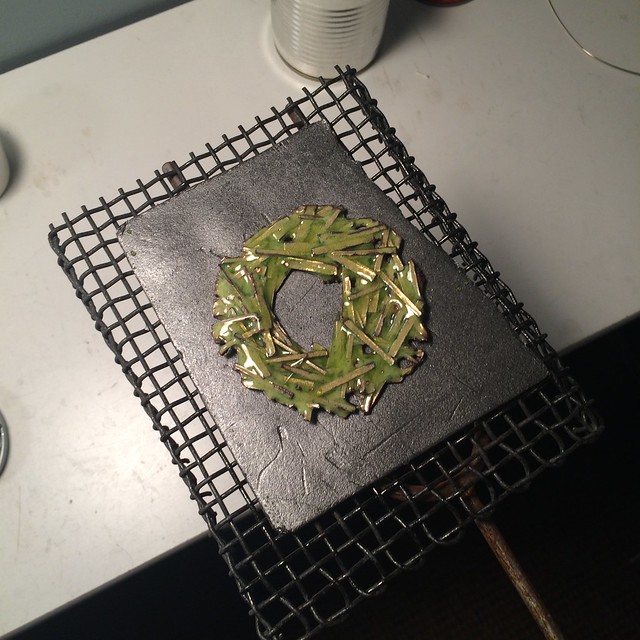
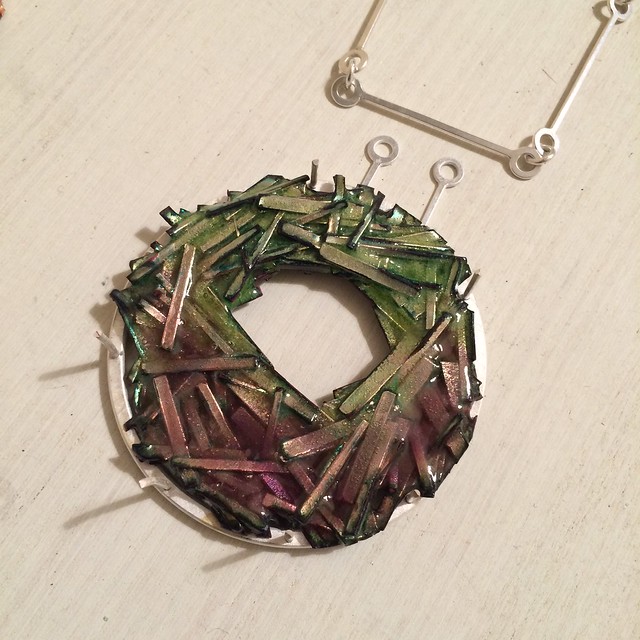
After the prongs were soldered, I gently pried off the frame from the brick, pickled it and then test fit the piece.  I then flush cut the back prongs and sanded the back flat.

image

image

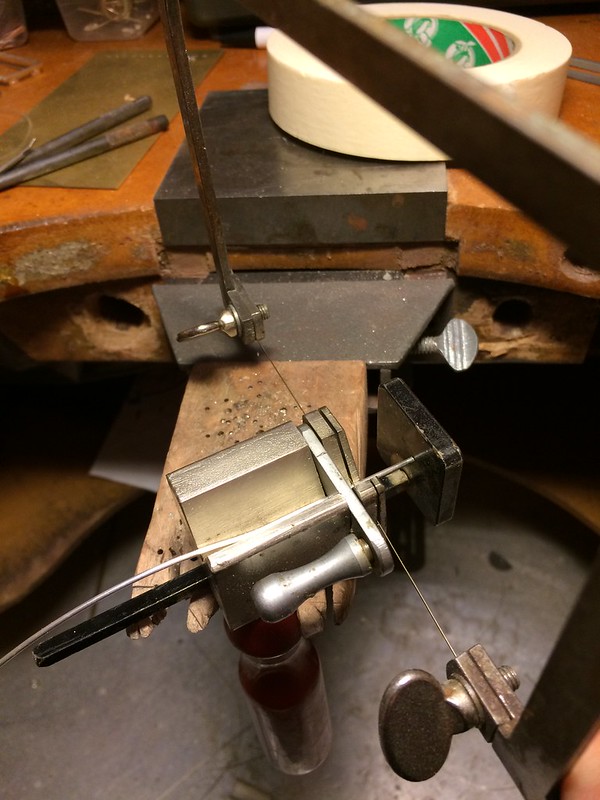
Once the back was sanded I figured out my bail and soldered it to the frame.

image

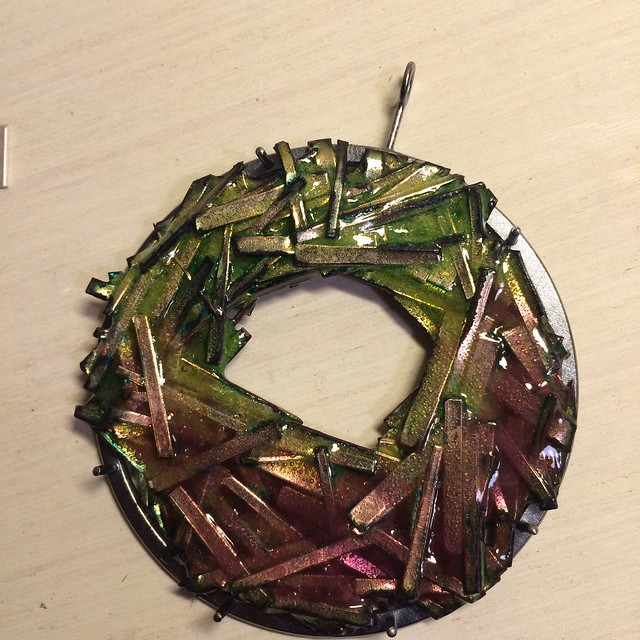
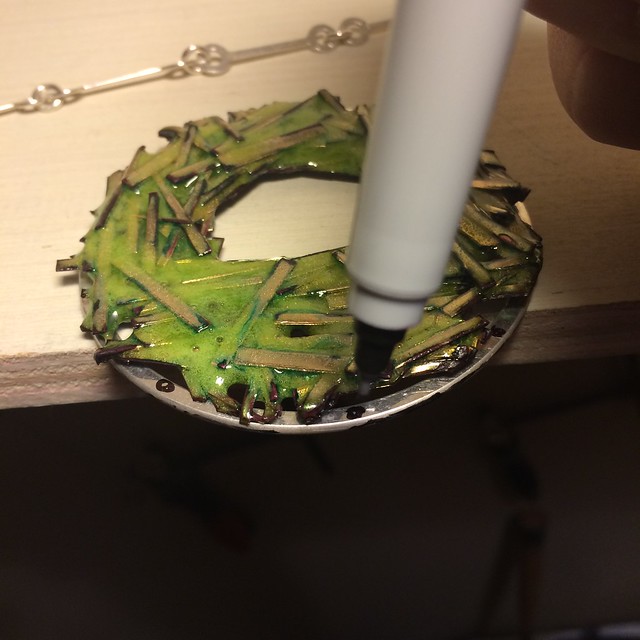
Once the bail was soldered on I patinated it with liver of sulphur and the brass brushed it.  Then I set the piece and connected the chain to the bail with a split jumpring. 

image

image 

image 

image

Monday, November 16, 2015

Spout progress!


I just wanted to post some the progress that I made from last class.  I am almost ready to solder on my spout.  I used a rubber abrasive wheel to clean up my seams on the ferrule. I have a few of these I can donate to the cause. Please use them sparingly (You may need to place an order or go to Contenti to order more).  

To explain my steps.  First I marked and sanded my spout flat using the belt sander and disc sander. Once it was flat I started shaping it using a stake and a rubber mallet.  I then formed the bottom of the spout on a dapping punch to give it a belly.  I then started grinding back the spot to fit the curve of my pot. I then cut the spout to length and beveled the lip of the spout to be parallel with the edge of my rim. I cleaned up all the solder with a file and then a rubber wheel. Once it was finished I laid out where it will fit on the pot, traced it's location and started drilling my holes. Once you have drilled your holes you are committed to the spouts location. I will solder it on in class. 

Today we will be going over:

  • Soldering on your spout
  • Fabricating and soldering on a rim
  • Riveting on your handle
And what you will need for the final:

  • Spoons - Polished/finished/planished finalized
  • Bowls - Polished/finished/planished finalized
  • Pitcher and cup - Polished/finished/planished/handle/spout and possibly a rim?
  • Sketchbooks - 50 pages (or supplemental material/blog link, photos etc.  links should be emailed (this includes pinterest boards, flickr etc) 
  • Hammers - both your forging hammer and your raising hammer from your kit should be dressed/finished
  • Models - if you have them
  • Photograph your work!!!